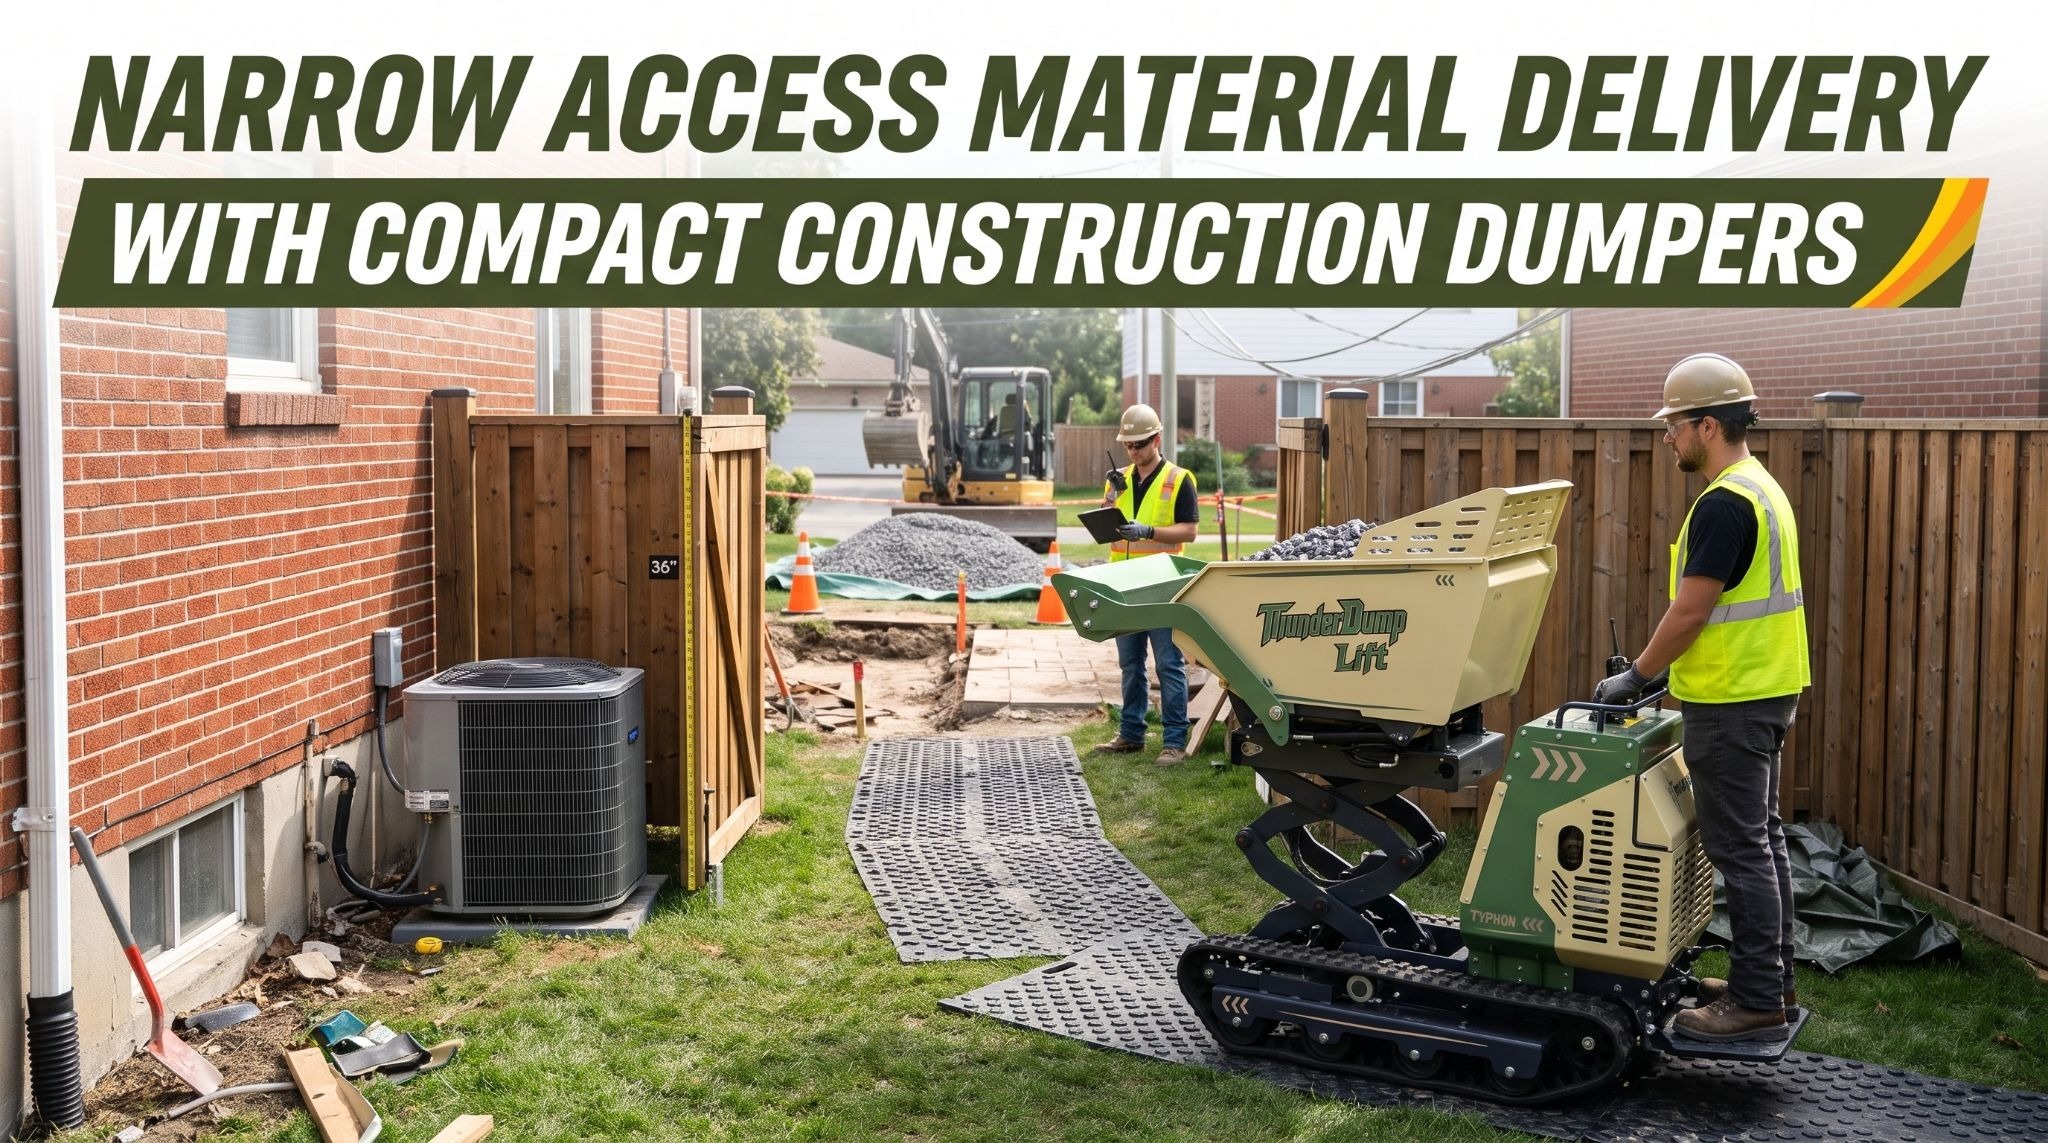
A backyard patio project often runs into the same obstacle: the materials can’t get to the work. Twelve tons of base stone sit in the driveway, while the patio sits behind the house, reached only by a 36-inch side gate and a narrow strip of lawn. A loader won’t fit. Wheelbarrows would take days and wear out the crew. A compact construction dumper solves the problem by carrying full loads through tight routes without the strain and slow pace of manual handling.
Compact dumpers move soil, gravel, sand, concrete, mulch, and debris through restricted areas on landscaping, residential construction, renovation, and utility projects. They fit where larger equipment can’t, but narrow access leaves little room for error. Machine width, turning space, payload, hopper design, ground conditions, and unloading arrangements all decide whether a dumper delivers material efficiently and safely.
Compact Chassis and Turning Maneuverability
Fitting through an opening is only half the challenge. The dumper also has to turn corners, line up with doorways, and position itself at loading and unloading points. Chassis design determines how easily it does those things.
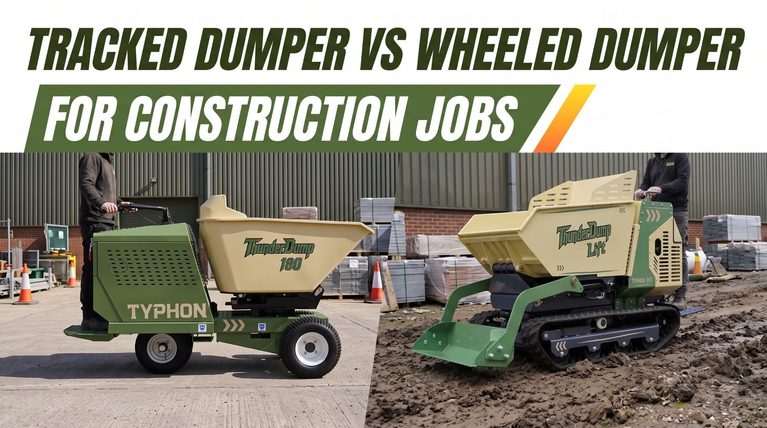
Tracked mini dumpers typically steer like small track loaders. The operator drives one track faster than the other, or in the opposite direction, to turn. Many can counter-rotate and spin within their own length, which makes them well suited to tight backyards and interior renovation work. Tracks also spread weight over a larger area, lowering ground pressure on lawns and soft soil. The trade-off is that spin turns can scuff turf and finished surfaces, so mats or gentle, wider turns may be needed.
Wheeled site dumpers usually use articulated steering, with the chassis pivoting at a central joint. Articulation gives a tight turning radius for a wheeled machine and keeps the rear wheels tracking close to the front wheels. That helps on narrow paths with fences or walls on both sides. Wheeled dumpers generally travel faster on firm ground, which helps on longer routes. Their wider bodies and larger turning circles, however, limit them on the tightest residential access.
Operator position affects maneuverability too. Some compact dumpers are walk-behind or stand-on designs, where the operator controls the machine from a platform or behind the hopper. Others are ride-on machines with a seat, rollover protective structure (ROPS), and seat belt. Walk-behind and stand-on designs can work in very tight spaces, but the operator must watch foot placement and stay clear of walls and obstacles behind the machine. Ride-on dumpers give better operator protection and comfort on longer routes.
When comparing models, look at overall length, turning radius, track or wheel layout, and visibility from the operator’s position. A loaded forward-tip hopper can block the operator’s forward view, especially on smaller machines. Swivel seats, reversible controls, mirrors, and cameras help. Where visibility is limited, assign a spotter who stays in clear view of the operator and well out of the machine’s path.
Key takeaway: Tracked dumpers excel in the tightest spaces with low ground pressure, while articulated wheeled dumpers offer speed on firmer routes. Compare turning radius, length, operator position, and visibility, and use a spotter where the loaded hopper blocks the view.
Payload and Material Transport Efficiency
Payload capacity defines how much weight a dumper can carry within its approved limits. That rating appears on the capacity label and in the operator’s manual, and it’s a firm limit. Exceeding it reduces stability, overloads the chassis and drive system, increases stopping distance, and raises the risk of tipping on slopes or uneven ground.
Hopper volume and payload are different specifications. Volume describes how much space the hopper holds, while payload describes how much weight the machine can safely carry. Dense materials can exceed the payload rating long before the hopper looks full. That’s why loads should be estimated by weight, not by eye.
Load placement affects stability as well as legality. Keep material centered in the hopper, avoid heaping it toward the front lip, and never let loads extend beyond the hopper sides. Uneven or off-center material can make the machine pull to one side or tip on a cross slope.
Key takeaway: Hopper volume never defines safe weight. Estimate each load from realistic material density, partially fill the hopper with dense or wet material, keep loads centered, and plan trips and cycle times around the rated payload.
Hopper Design and Unloading Options
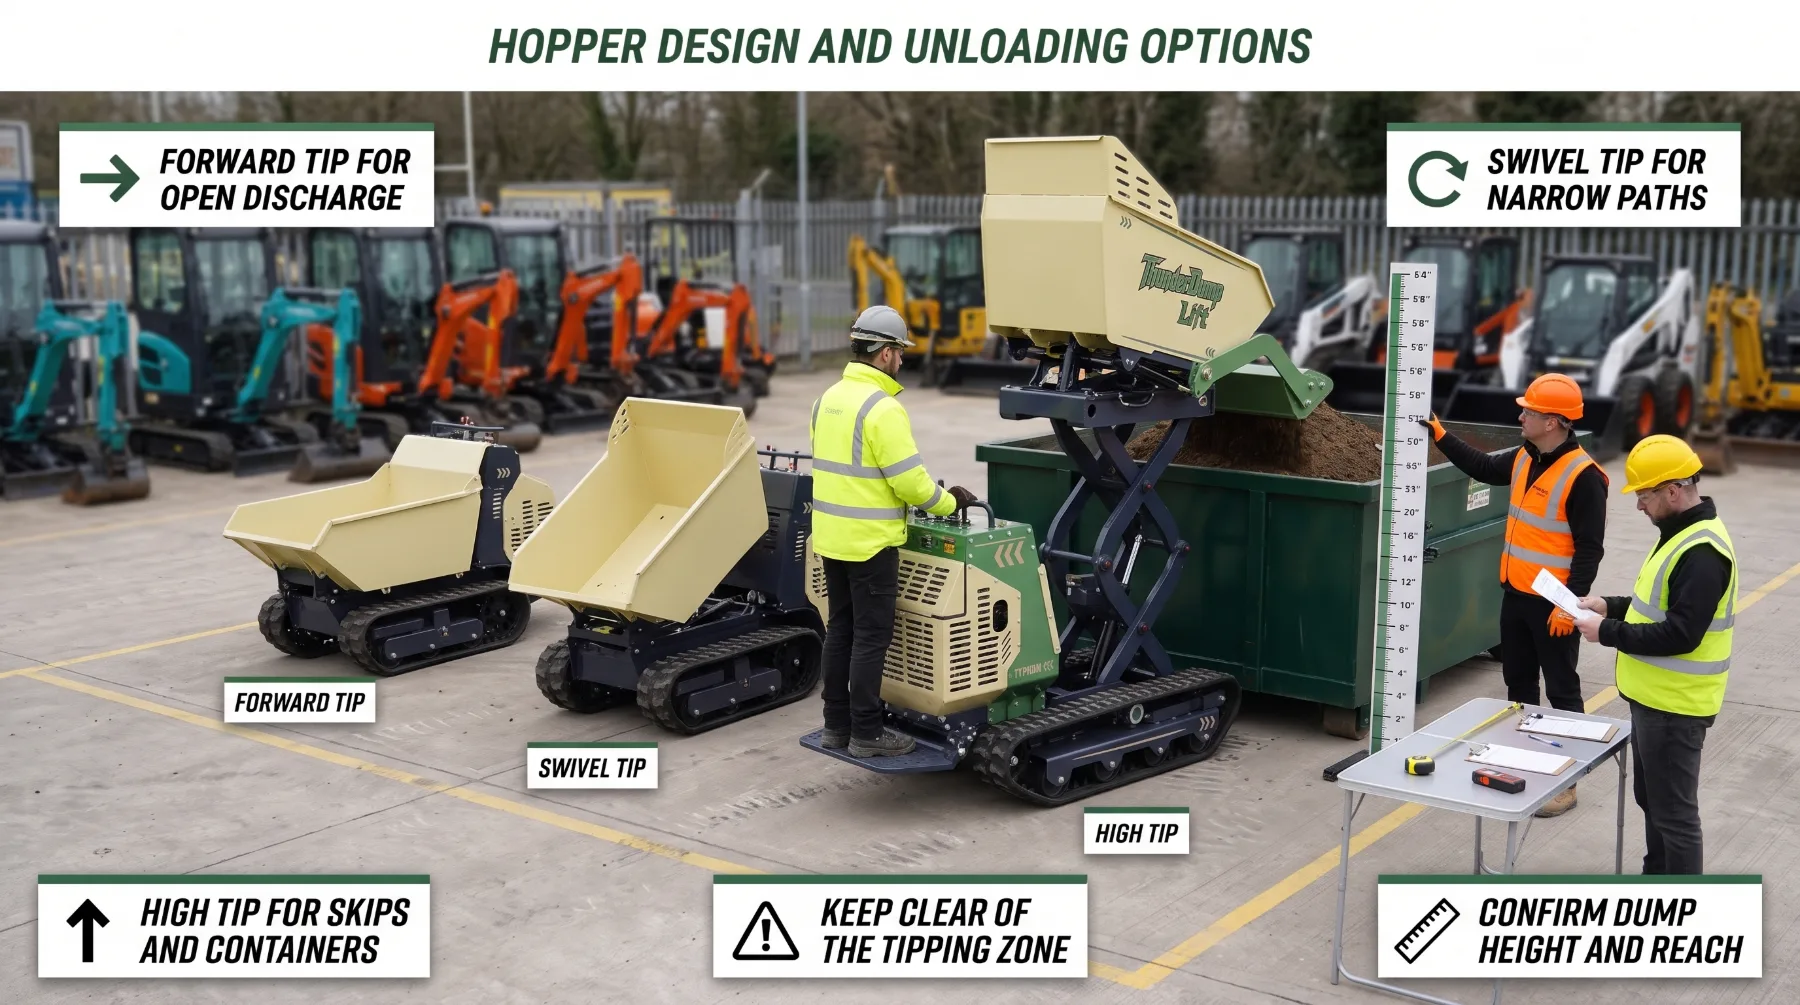
The hopper determines where and how material can be delivered. Compact dumpers use several hopper arrangements, and the right one depends on the discharge point and the space available around it.
Forward-tip hoppers are the simplest and most common design. The hopper pivots forward and discharges material directly ahead of the machine. They work well for spreading material along a path, filling trenches, and dumping onto open ground. Their limitation is that the machine must approach the discharge point head-on, which can be difficult in tight spaces.
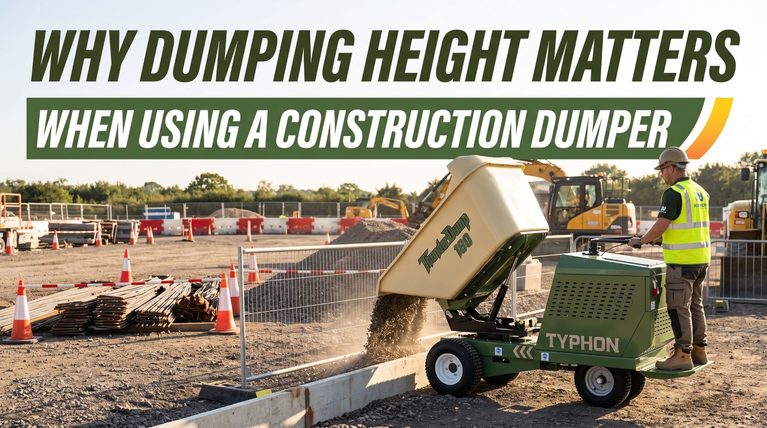
Swivel-tip hoppers rotate before tipping, often through about 90 degrees or more to either side. That lets the operator discharge material beside the machine without turning the whole dumper. Swivel tipping is valuable along narrow paths, beside foundations, and in trenches where the machine can travel parallel to the work but can’t turn to face it.
High-tip hoppers raise the hopper on a lifting mechanism before tipping. They can discharge into skips, dumpsters, small trucks, mixers, or raised beds, which saves double handling. Many tracked mini dumpers offer high-tip options, with discharge heights that vary widely by model. Confirm the actual dump height, reach, and approved payload in the high-tip position, since some machines carry lower capacity or stricter ground requirements when the hopper is raised.
Some compact dumpers also offer self-loading shovels, which let a single operator fill the hopper from a stockpile without a separate excavator or loader. Self-loading can improve efficiency on small jobs and reduce the number of machines in a tight work area. The shovel adds weight and length, though, so check overall dimensions and payload with it installed.
Match the hopper to the job before choosing a machine. Ask where each load will be discharged, how high the receiving point sits, and whether the dumper can approach it head-on. A crew backfilling a trench beside a wall may value swivel tipping most, while a renovation crew filling a skip from inside a building may need high tipping.
Key takeaway: Forward-tip hoppers suit open discharge, swivel-tip hoppers suit narrow paths beside the work, and high-tip hoppers load skips and containers. Confirm dump height, reach, and payload in each position before selecting a machine.
Ground Conditions and Route Planning
Narrow routes rarely offer ideal ground. Side yards may slope toward the house, garden paths may change from paving to lawn to loose gravel, and renovation sites may include ramps, thresholds, and temporary boards. Each change affects traction, braking, and stability.
Walk the route before work begins, and again whenever conditions change. Look for soft lawns, recent backfill, wet clay, loose aggregate, buried tanks, septic fields, irrigation lines, drains, and utility covers. Check slopes and the transitions at the top and bottom of ramps, where a loaded machine can bottom out or lurch. Identify unsupported edges along trenches, excavations, retaining walls, and loading docks, and keep the machine well back from them. The concentrated weight of a loaded dumper can collapse ground near an edge even when the surface looks firm.
Slopes demand particular care. Follow the manufacturer’s slope limits for the specific machine, loaded and empty. Travel straight up and down slopes rather than across them, since cross-slope travel shifts the center of gravity toward the downhill side and can cause a sideways rollover. Keep the heavy end of the machine uphill. On many forward-tip dumpers, that means driving forward up a slope and reversing down when loaded, but the correct direction varies by design, so confirm it in your operator’s manual. Never turn on a slope, and never tip a load on an incline unless the manufacturer permits it.
Ground protection makes many restricted routes workable. Interlocking ground protection mats spread the machine’s weight across lawns and soft soil, protect finished turf and pavers, and give tracks or tires better grip. Plywood laid without anchoring can slide, so use purpose-built mats or secure temporary boards properly. Plan for weather as well. Rain softens clay, turns mats and paving slick, and can make a route that worked in the morning unsafe by afternoon.
Key takeaway: Walk the route for soft ground, slopes, edges, and buried hazards, use proper ground protection, follow the manual’s slope limits, travel straight up and down grades, and always wear the seat belt on ride-on machines.
Loading and Unloading in Confined Work Areas
Loading and unloading bring the dumper closest to people, other machines, and structures. In confined spaces, a clear routine keeps each cycle controlled.
Position the dumper on firm, level ground before loading, with the parking brake applied and the hopper lowered. Where an excavator or loader fills the hopper, agree on signals before work starts and keep communication clear throughout the cycle. The loading machine should place material gently and evenly, never dropping it from height, since impact loads shock the chassis and can shift the dumper. Never swing a loaded bucket over the dumper operator or any person. Many sites require the dumper operator to leave the machine and stand in a safe position clear of the bucket path during loading, unless the dumper has suitable protection and site rules allow the operator to remain at the controls. Follow your site’s procedure.
Unloading requires the same discipline. Before tipping, confirm that the discharge area is clear of people and that the ground is firm and level. Keep workers out of the tipping zone, which includes the area in front of or beside the hopper where material will fall and where the hopper itself moves. Near trenches, excavations, and embankments, use stop blocks or other edge protection at tipping points so the machine can’t roll too far forward. Tip slowly, especially with sticky clay or wet concrete, which can release suddenly and shift the machine’s balance. Lower the hopper fully before traveling away.
High-tip and swivel-tip operations call for extra checks. Confirm overhead clearance before raising a high-tip hopper, and make sure the receiving skip or container sits on level ground within the machine’s reach. With swivel tipping, check that the rotation path is clear of walls, fences, and people before turning the hopper.
Plan the work area so machines don’t crowd each other. Establish a consistent loading position, a clear travel lane, and a separate unloading point where possible. In tight backyards, that might mean loading at the driveway, traveling along a matted side path, and unloading at a marked point beside the patio. Set barriers or cones to keep homeowners, children, pets, and other trades out of the route.
Key takeaway: Load and unload only on firm, level ground, never swing loads over people, keep workers out of the tipping zone, use stop blocks near edges, and plan separate loading, travel, and unloading areas in tight spaces.
Inspection, Leak Safety, and Lockout
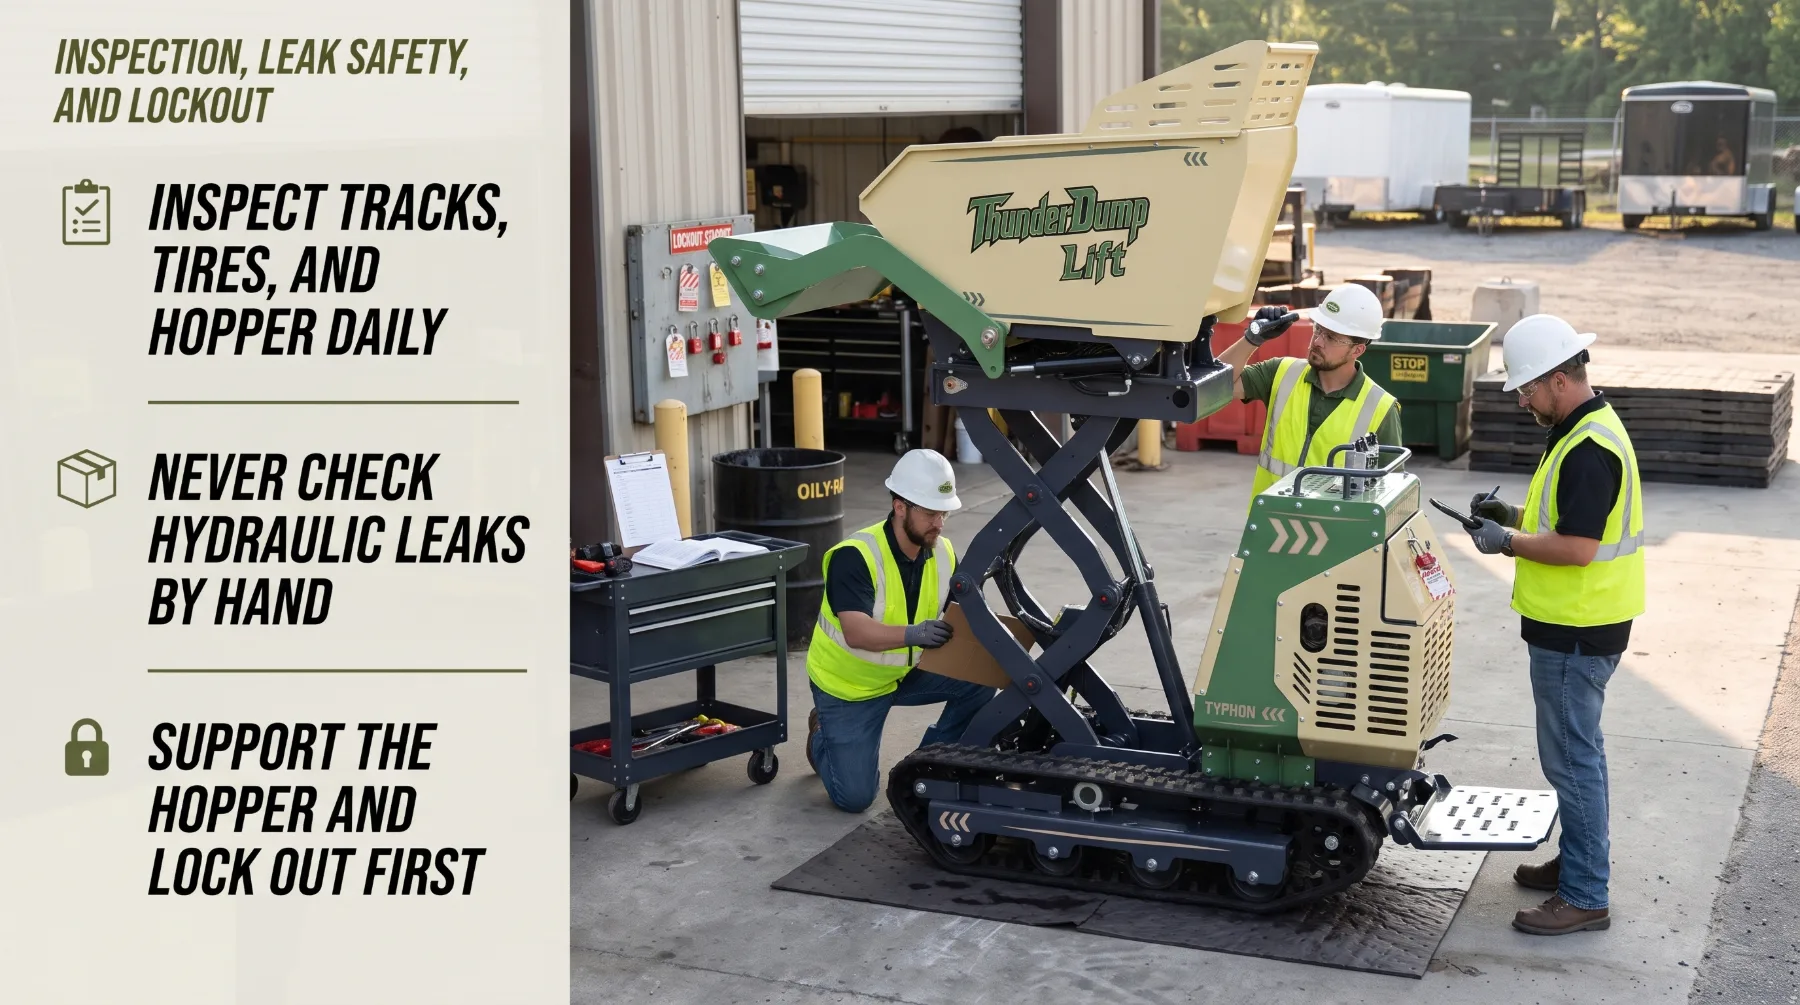
Reliable narrow access delivery depends on a dumper in good condition. Before each shift, complete the manufacturer’s pre-operation checklist. Inspect tracks or tires for damage, wear, tension, or pressure, and check the hopper, pivot pins, tipping cylinders, and locking devices. Confirm that brakes, steering, controls, warning devices, lights, and the emergency stop work. On ride-on machines, check the seat belt and ROPS for damage. Make sure capacity labels are legible.
Inspect hydraulic hoses and fittings for abrasion, cracks, bulges, and leaks, especially where they flex near the hopper and pivot points. Never use your hand to search for a hydraulic leak. Fluid escaping through a pinhole under pressure can penetrate skin and cause an injection injury. The wound may look minor at first, but it’s a medical emergency that requires immediate surgical treatment. Use a piece of cardboard or wood, wear gloves and eye protection, and keep your face out of line with the suspected leak. If anyone is struck by escaping fluid, get emergency medical care at once and tell medical staff it’s a hydraulic injection injury.
Before any inspection, cleaning, or repair, follow a complete lockout sequence to prevent unexpected engine power or machine movement. Park on firm, level ground away from edges and traffic. Lower the hopper fully, or engage the manufacturer’s approved hopper support if it must remain raised for access. Apply the parking brake, shut down the engine, turn off the engine power, and remove the key. Relieve hydraulic pressure as the manufacturer instructs, then apply your personal lock and tag according to your site’s lockout procedure and verify isolation before starting work. Never work beneath a raised hopper held only by hydraulics, and never rely on improvised blocking.
Remove any dumper with faults in brakes, steering, hydraulics, the hopper, or safety devices from service until a qualified technician repairs it. Only trained, authorized operators who have been familiarized with the specific model should run the machine.
Key takeaway: Inspect tracks, tires, the hopper, hydraulics, brakes, and safety devices every shift, check leaks with cardboard rather than your hands, and lower or support the hopper and lock out before any service.
Conclusion
Compact construction dumpers make material delivery possible where larger equipment can’t reach. Success starts with accurate measurements of every opening, path, and overhead obstruction. From there, the right chassis, turning design, and hopper type must match the route and discharge point. Payload must be calculated by weight rather than hopper volume, and route planning must account for slopes, soft ground, edges, and weather. Controlled loading and unloading, with workers kept clear of tipping zones, completes a safe and efficient delivery cycle.
Frequently Asked Questions
Can a compact dumper carry its full rated payload through a narrow path?
Only when the route, ground conditions, and machine configuration allow it. Rated payload assumes firm, suitable ground within the manufacturer’s slope limits. Soft lawns, loose gravel, slopes, ramps, and wet surfaces reduce stability and traction, so reduce the load where conditions are poor. Calculate payload from material density, since dense or wet materials can exceed the rating before the hopper looks full.
What is the benefit of a high-tip dumper?
A high-tip dumper raises its hopper before tipping, so it can discharge material directly into skips, dumpsters, small trucks, or raised beds. That eliminates double handling and speeds up cleanup on renovation and landscaping jobs. Confirm the specified dump height, reach, and payload in the raised position, check overhead clearance, and operate only on firm, level ground.
Should access width be measured before renting or buying a dumper?
Yes. Measure every gate, doorway, path, and gap at its narrowest point, and check overhead clearance along the route. Allow extra room on both sides for steering corrections, and consider the space needed to turn corners and position at loading and unloading points. Measuring first prevents failed deliveries, property damage, and unsafe improvisation on site.